TODO
- 취업 특강 수강
- Main Page Redesign
Main Page Redesign
Blog page - blog.html
Change some font, rearrange some spacing and text
I made some text bigger and improved some marginal spacing to fill up whitespace and perhaps make the page more aesthetically pleasing to view.
Add referral links to blog post items
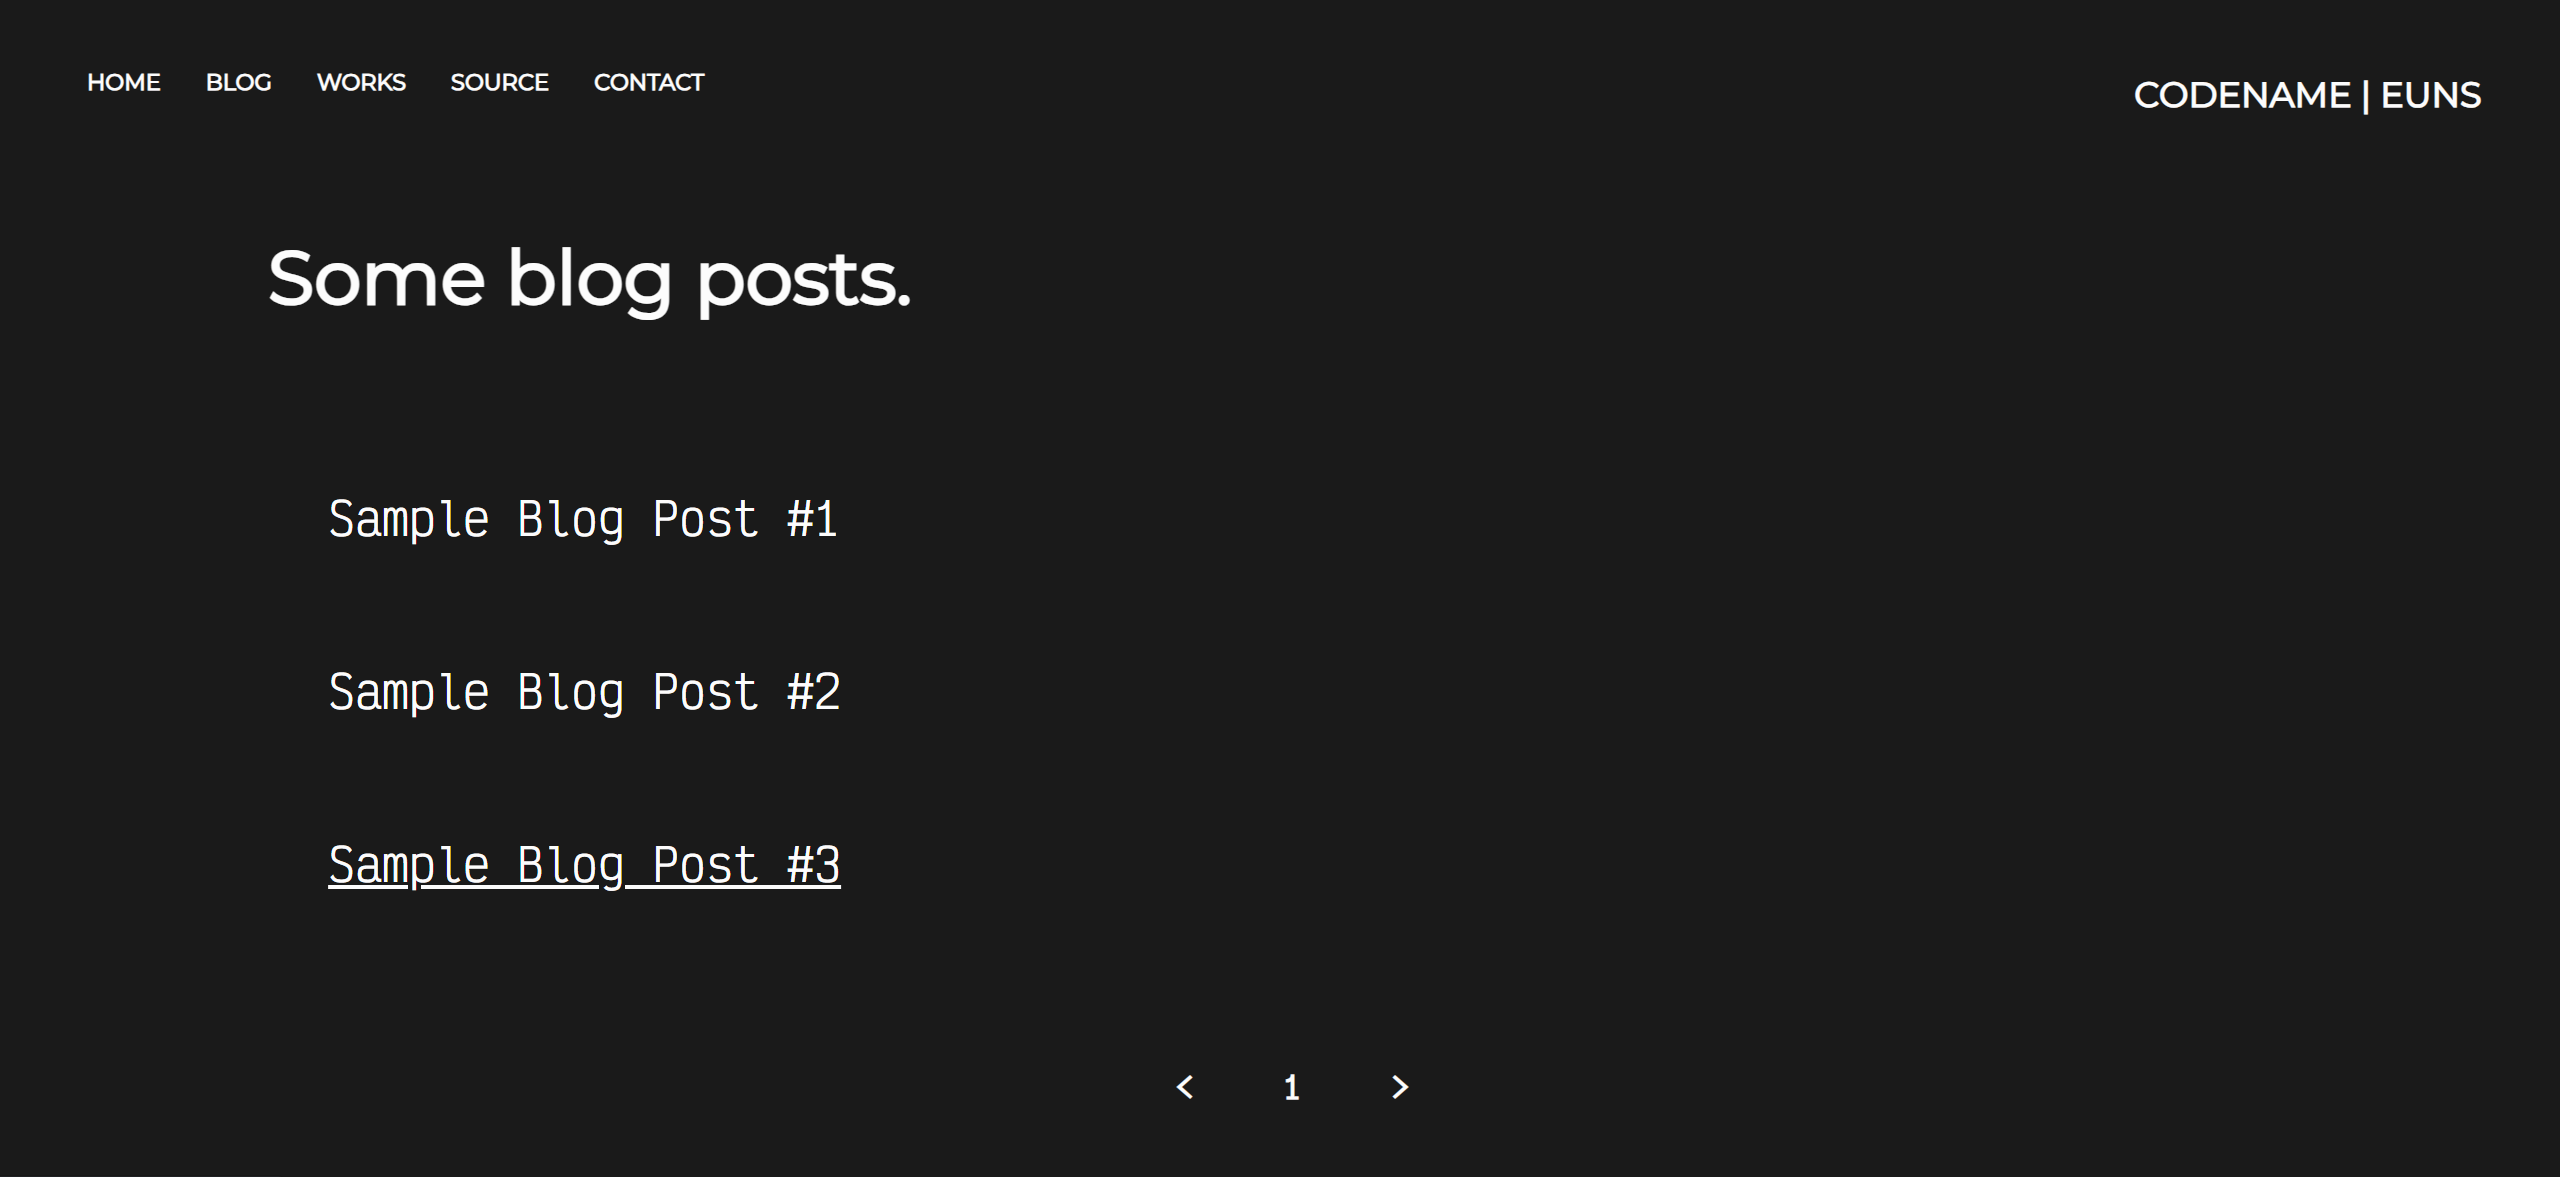
Referral links were added to each item under the blog post list for future use.
<ul class="blog_posts">
	<li><a href="">Sample Blog Post #1</a></li>
	<li><a href="">Sample Blog Post #2</a></li>
	<li><a href="">Sample Blog Post #3</a></li>
</ul>
CSS styling involved removing default text decoration settings from <a> tag referral links (color is set to white for default and visited links).
.blog_posts li a{
	text-decoration: none;
}

.blog_posts li a:visited {
	color: var(--white);
}
Add pagination
I figured paginizattion would be needed in order to traverse between blog posts. The following shows a simple implementation of pagination.
For the next and previous arrows, insert ‘<’ and ‘>’ as text within <span> tags. Insert page numbers (starting from 1) as elements in an unordered list. Add links to all pagination elements via <a> tag.
<div class="pagination">
	<span><a href=""><</a></span>
	<ul>
		<li><a href="">1</a></li>
		<!--use js to add elements here if there are more blog posts-->
	</ul>
	<span><a href="">></a></span>
</div>
CSS styling involved positioning -the elements to the center of the page as well as removing default decoration settings from list items and <a> tag referral links (color is set to white for default and visited links).
.pagination {
	margin-top: 5%;
	display: flex;
	align-items: center;
	justify-content: center;
	font-weight: bold;
	font-size: 20px;
}

.pagination a {
	text-decoration: none;
}

.pagination ul {
	padding-left: 50px;
	padding-right: 50px;
}

.pagination ul li {
	padding: 10px;
}

.pagination a:visited {
	color: var(--white);
}
Also, text-underlining hover effects were added to both blog post links and pagination menu for better visual aid.
.blog_posts li:hover {
	text-decoration: underline;
}

.pagination a:hover {
	text-decoration: underline;
}
TO ADD.
- JavaScript code that will add links (indicated by the apge number) onto the pagination menu when more blog posts are added.
- JavaScript code reads a markdown(.md) file and generates an html file accordingly (or other methods of creating a blog post via markdown and adding it to the blog)
- Blog post traversal via links
Add sample blog post page
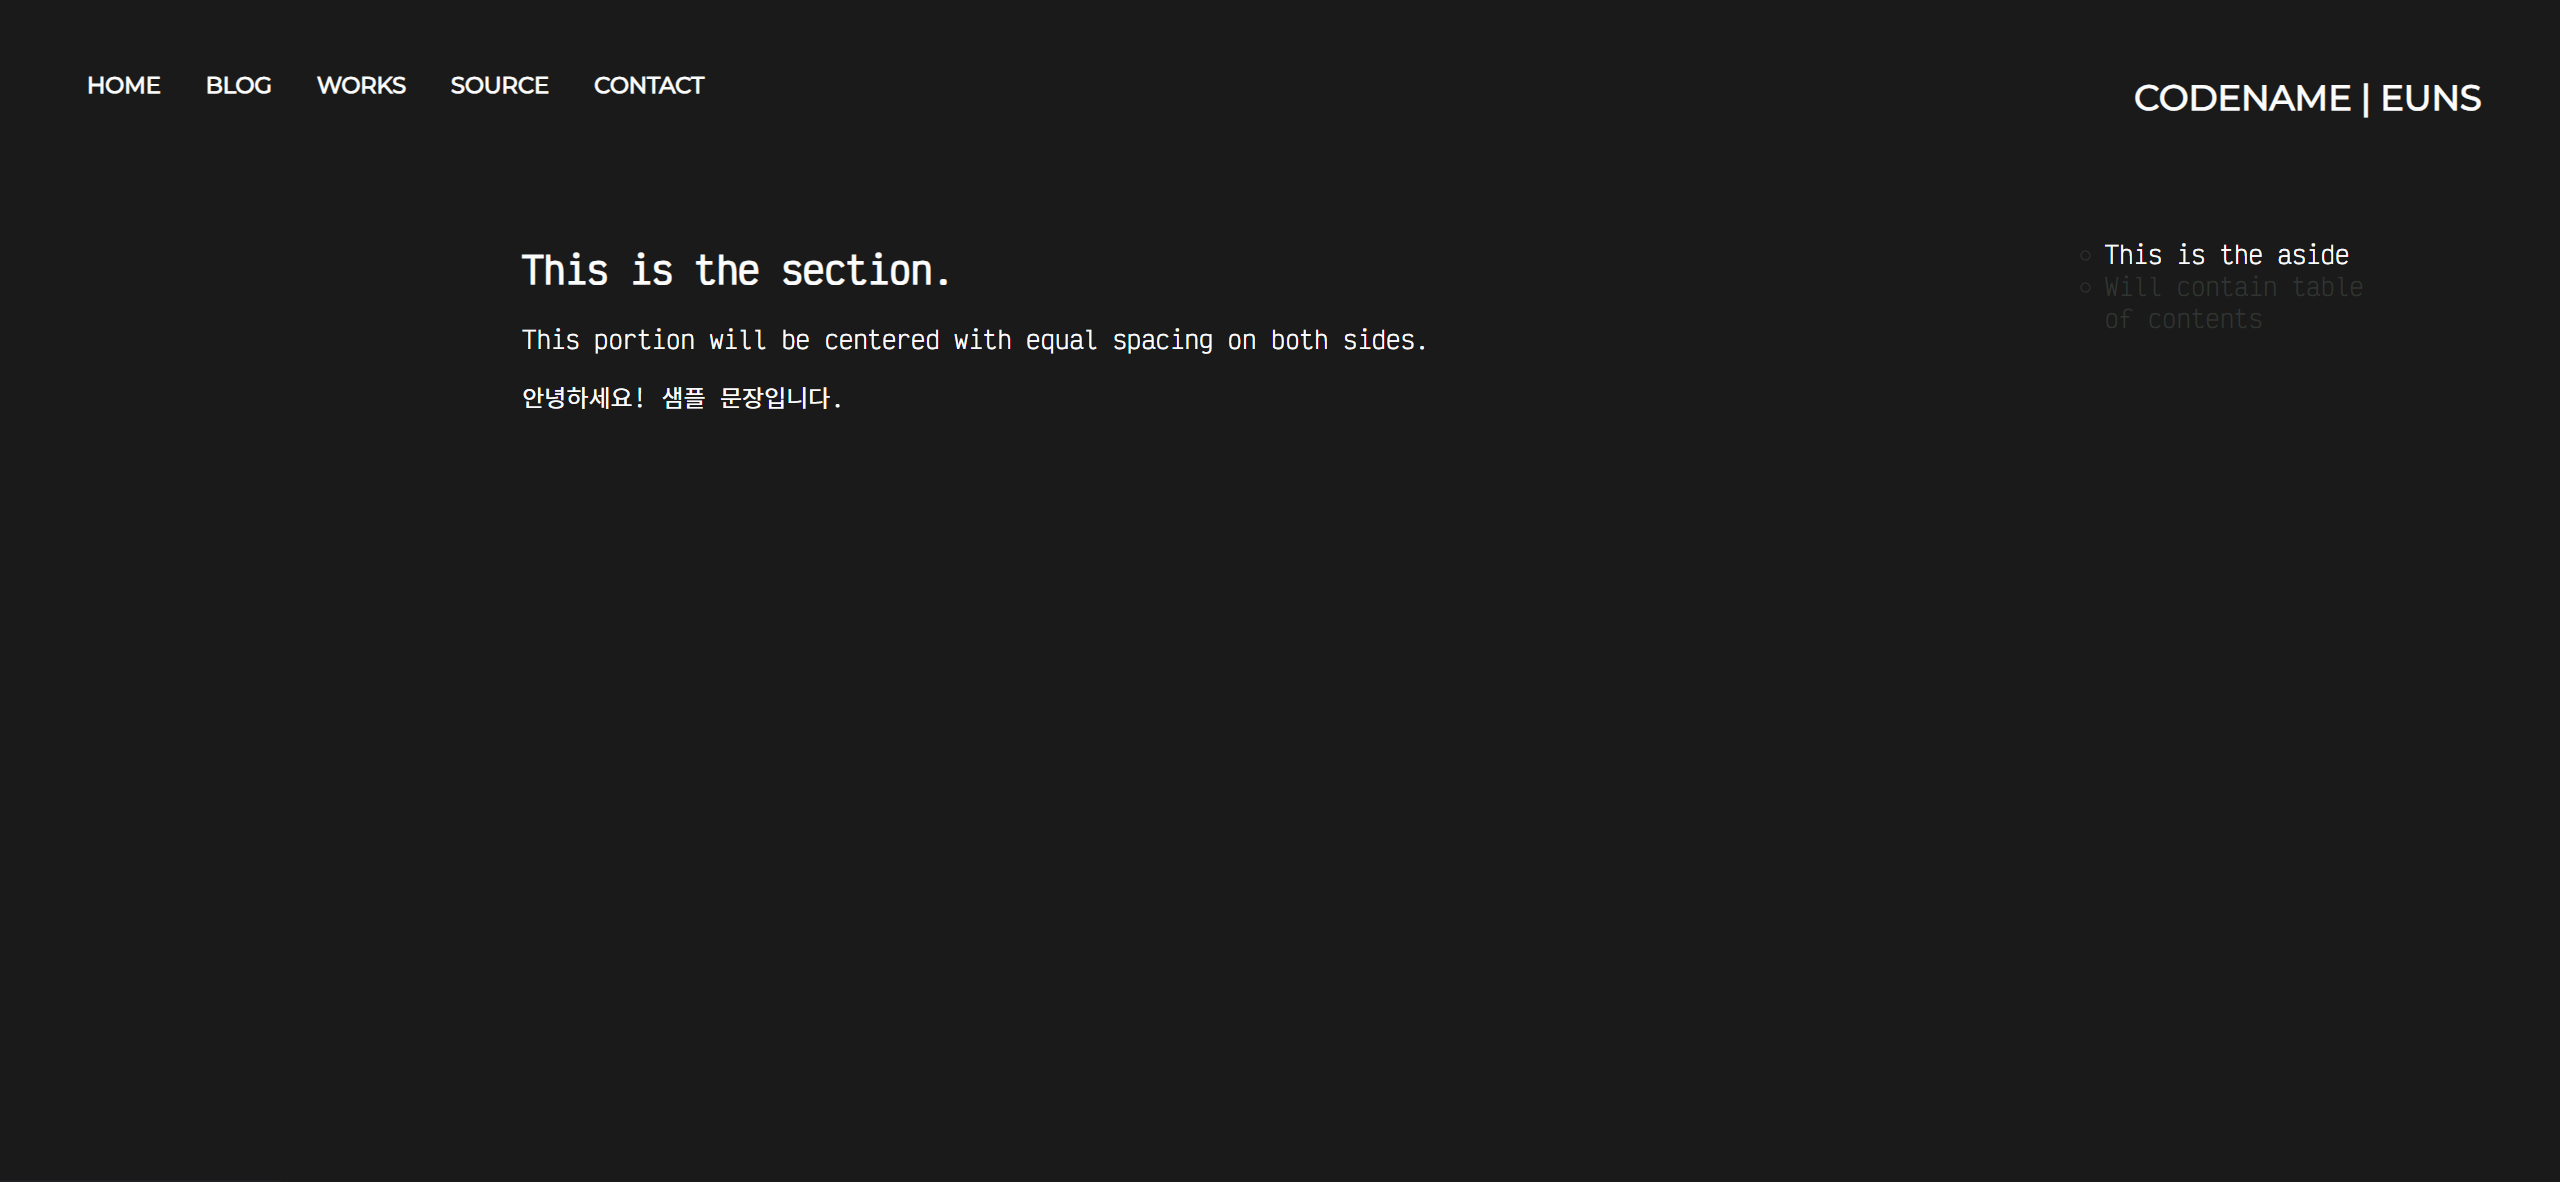
Added for visualization of future blog posts.
Fonts are set to Victor Mono, Montserrat for English and Noto Sans KR for Korean.
Since content in <aside> will be used to traverse the contents of the currently open blog post, links were added in case section traversal will be coded in the future.
<aside>
	<ul class="contents_summary">
		<li><a href="">This is the aside</a></li>
		<li><a href="">Will contain table of contents</a></li>
	</ul>
</aside>
aside {
	display: inline-block;
	height: 60vh;
	width: 200px;
	color: var(--foreground);
}

aside a {
	text-decoration: none;
}

aside a:visited {
	text-decoration: none;
	color: var(--foreground);
}

aside a:hover {
	color: var(--white);
}
TO ADD.
- Code for section traversal depending on content of a blog post
- Markdown features for efficient blog posting (include code block features).
Home Page - stylized.html
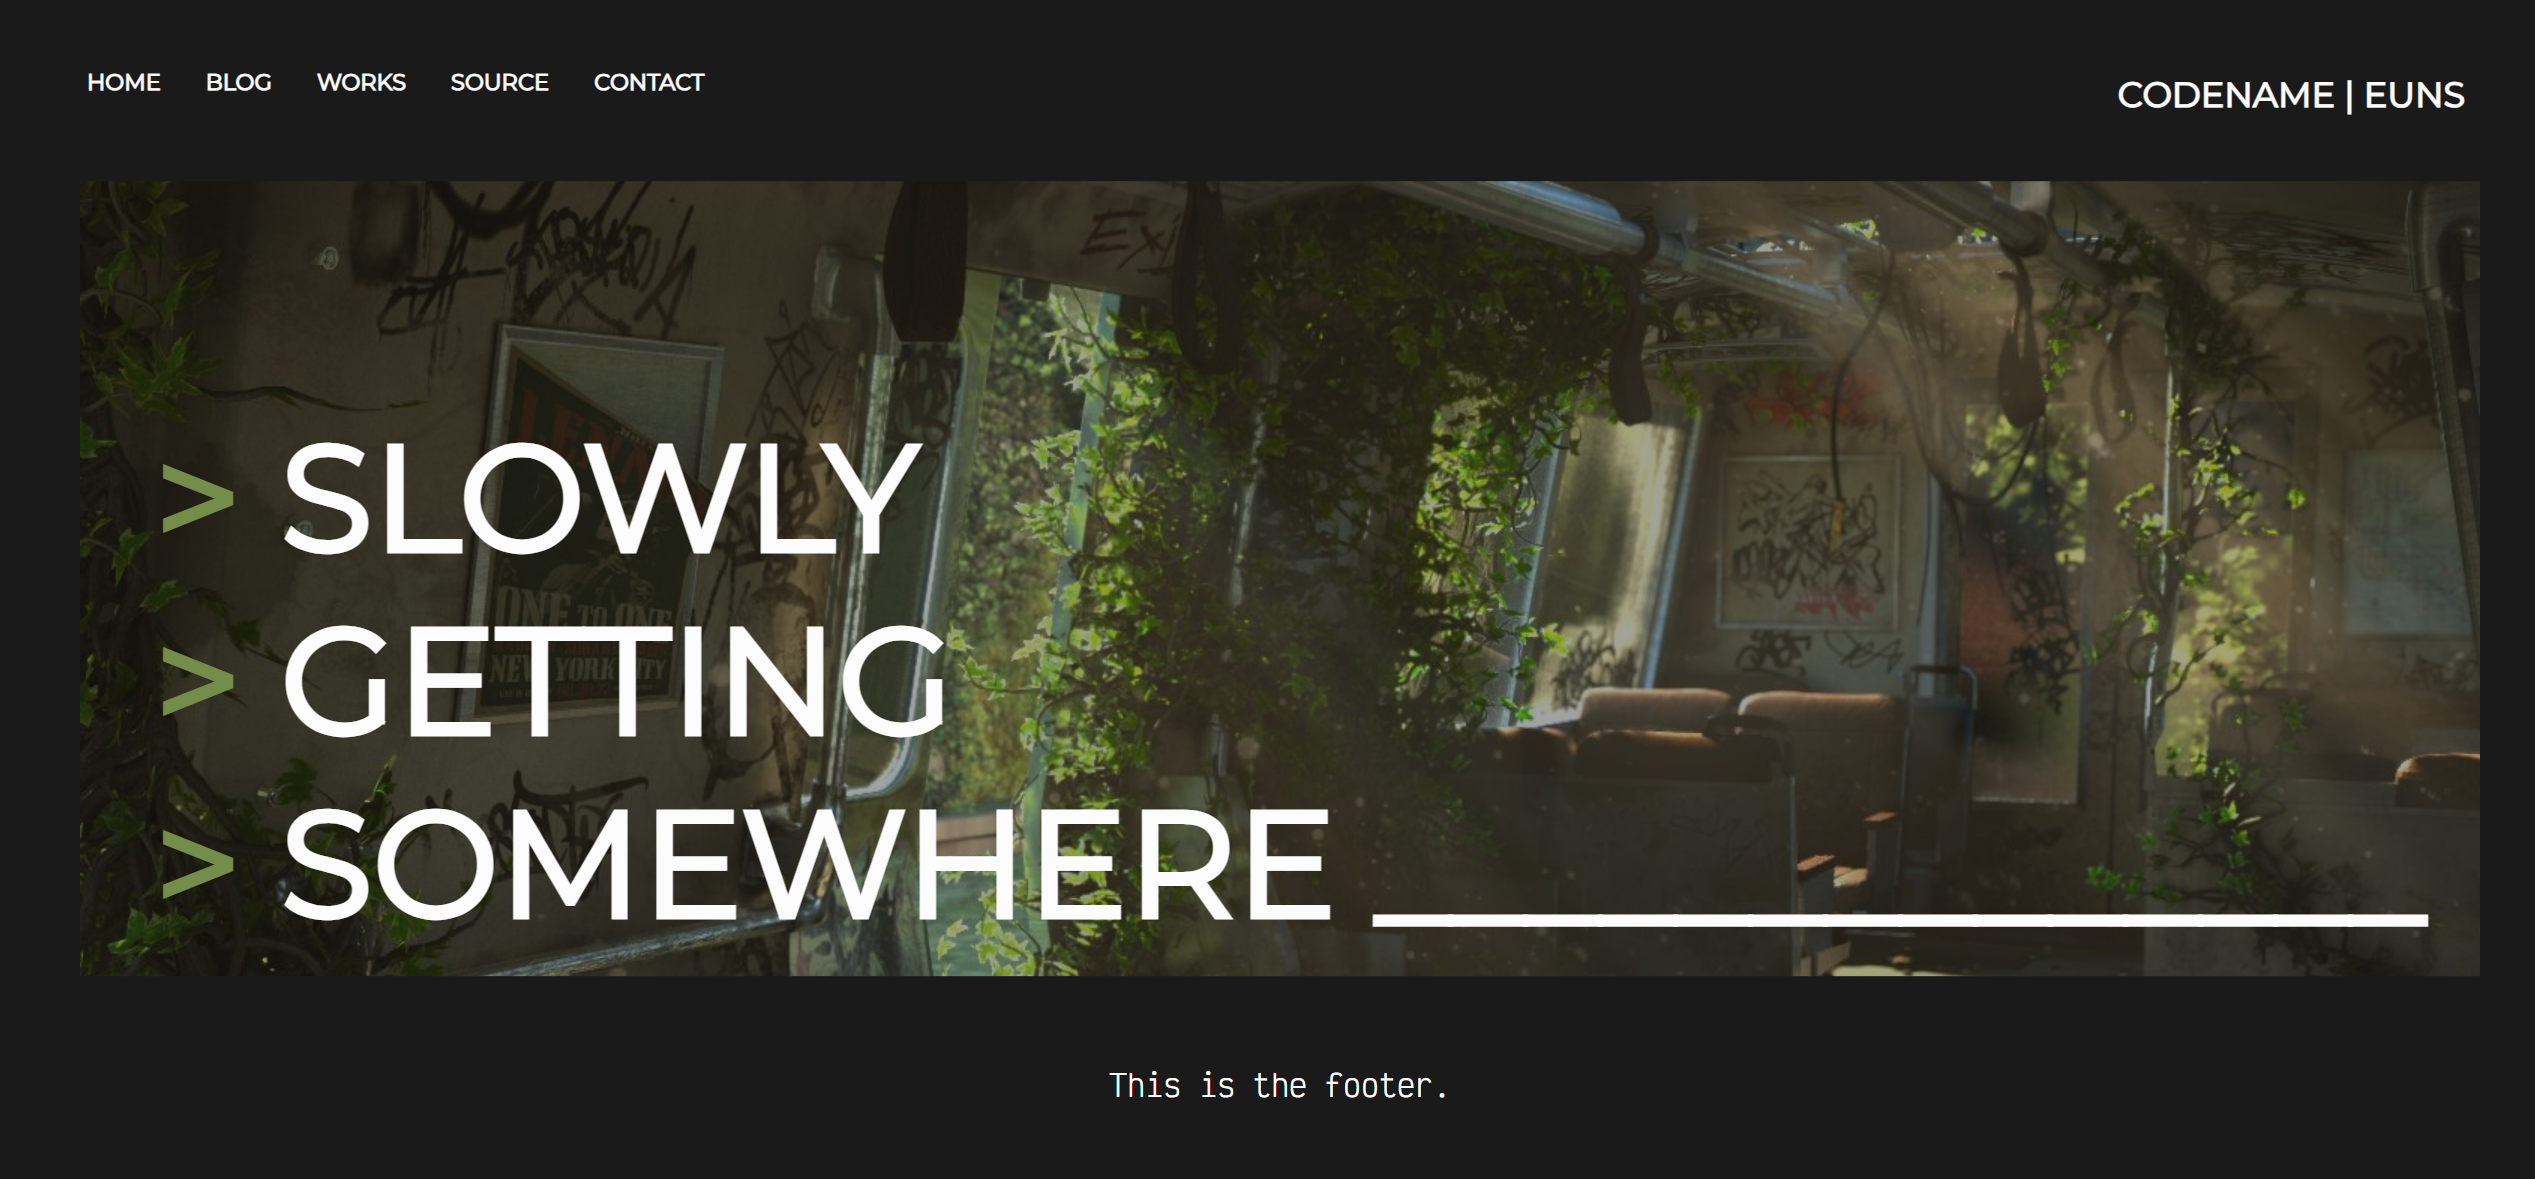
Replace main content with typography welcome text
Removed <section> and <aside> in the meantime, as they are not essential components in the home page.
Added headings (h1) for the welcome title. Add <span> tags for adding a ‘>’ symbol to imitate a starting command or code line from a terminal.
<main>
	...
	<h1><span class="codeline_icon">></span> SLOWLY</h1>
	<h1><span class="codeline_icon">></span> GETTING</h1>
	<h1><span class="codeline_icon">></span> SOMEWHERE ______________</h1>
</main>
Added transparency to background image for better text readability.
#main_bg_img {
	...
	opacity: 0.60;
}
TO ADD.
- Text enlarging animation to welcome title - ref. https://www.w3schools.com/cssref/tryit.php?filename=trycss_anim_font-size
- Grain on background image - ref. https://css-tricks.com/grainy-gradients/
- Better positioning for main content and/or welcome title and footer (footer must stay at bottom, and should not move with the main content)
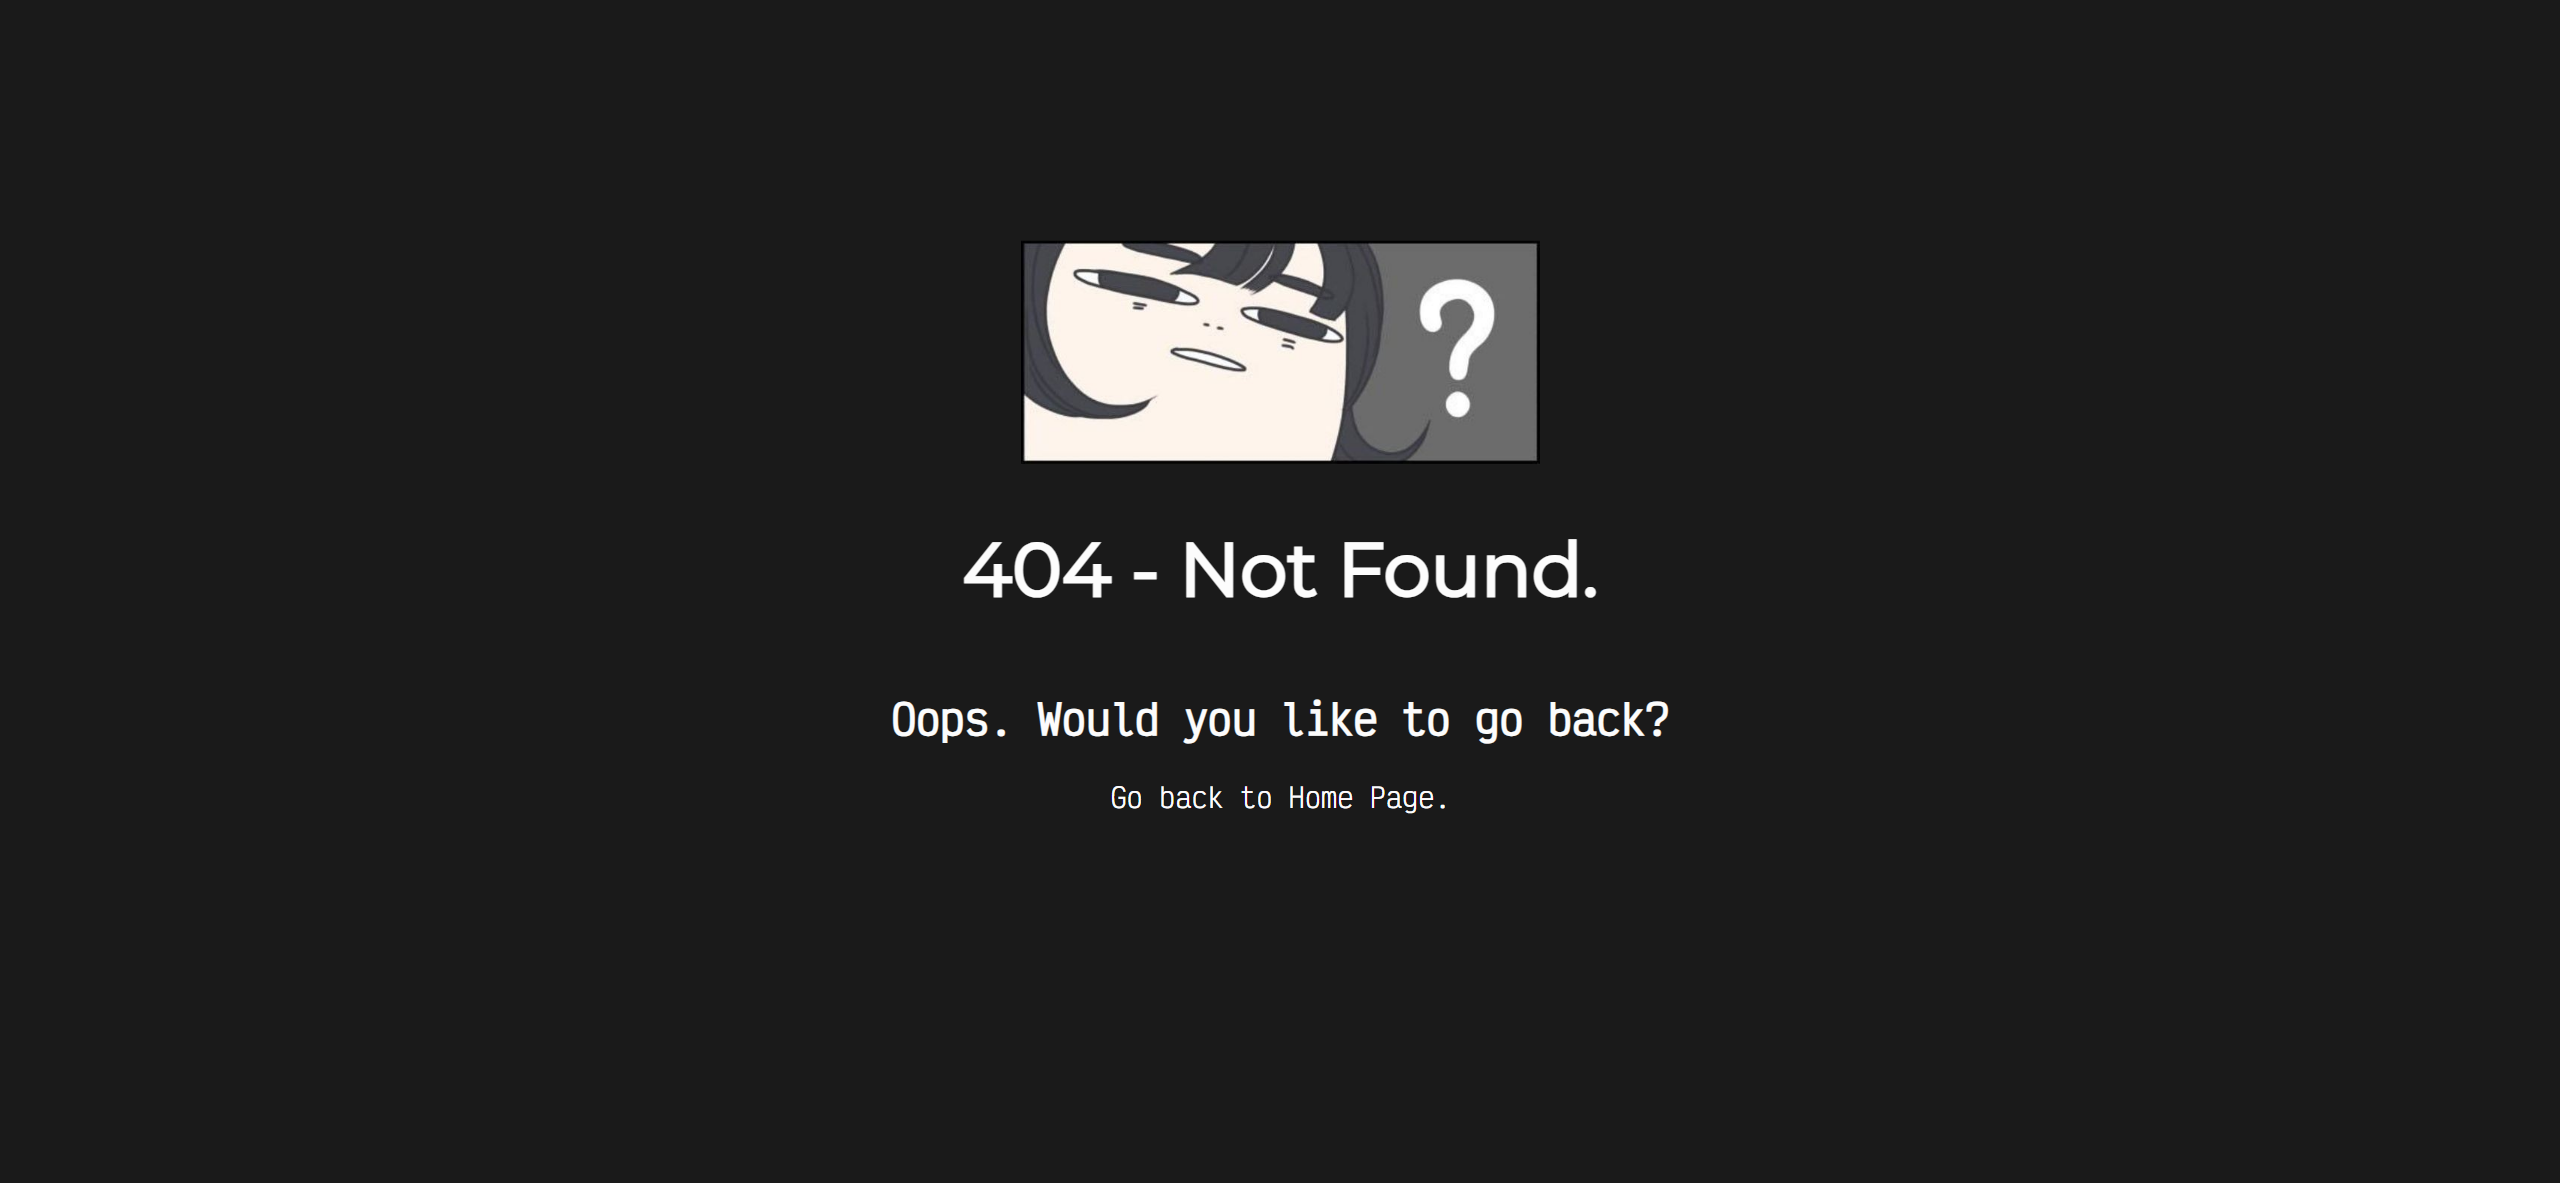
404 Page - 404_page.html
Added a 404 page for when undergoing updates or if errors persist.
CSS styling is done via inline stylesheet (use of <style> tag) with the intention of avoiding to create a new external stylesheet file for 404 page with less content.
Contact Page - stylized_form.html
Replace newsletter form with contact form
Add caption
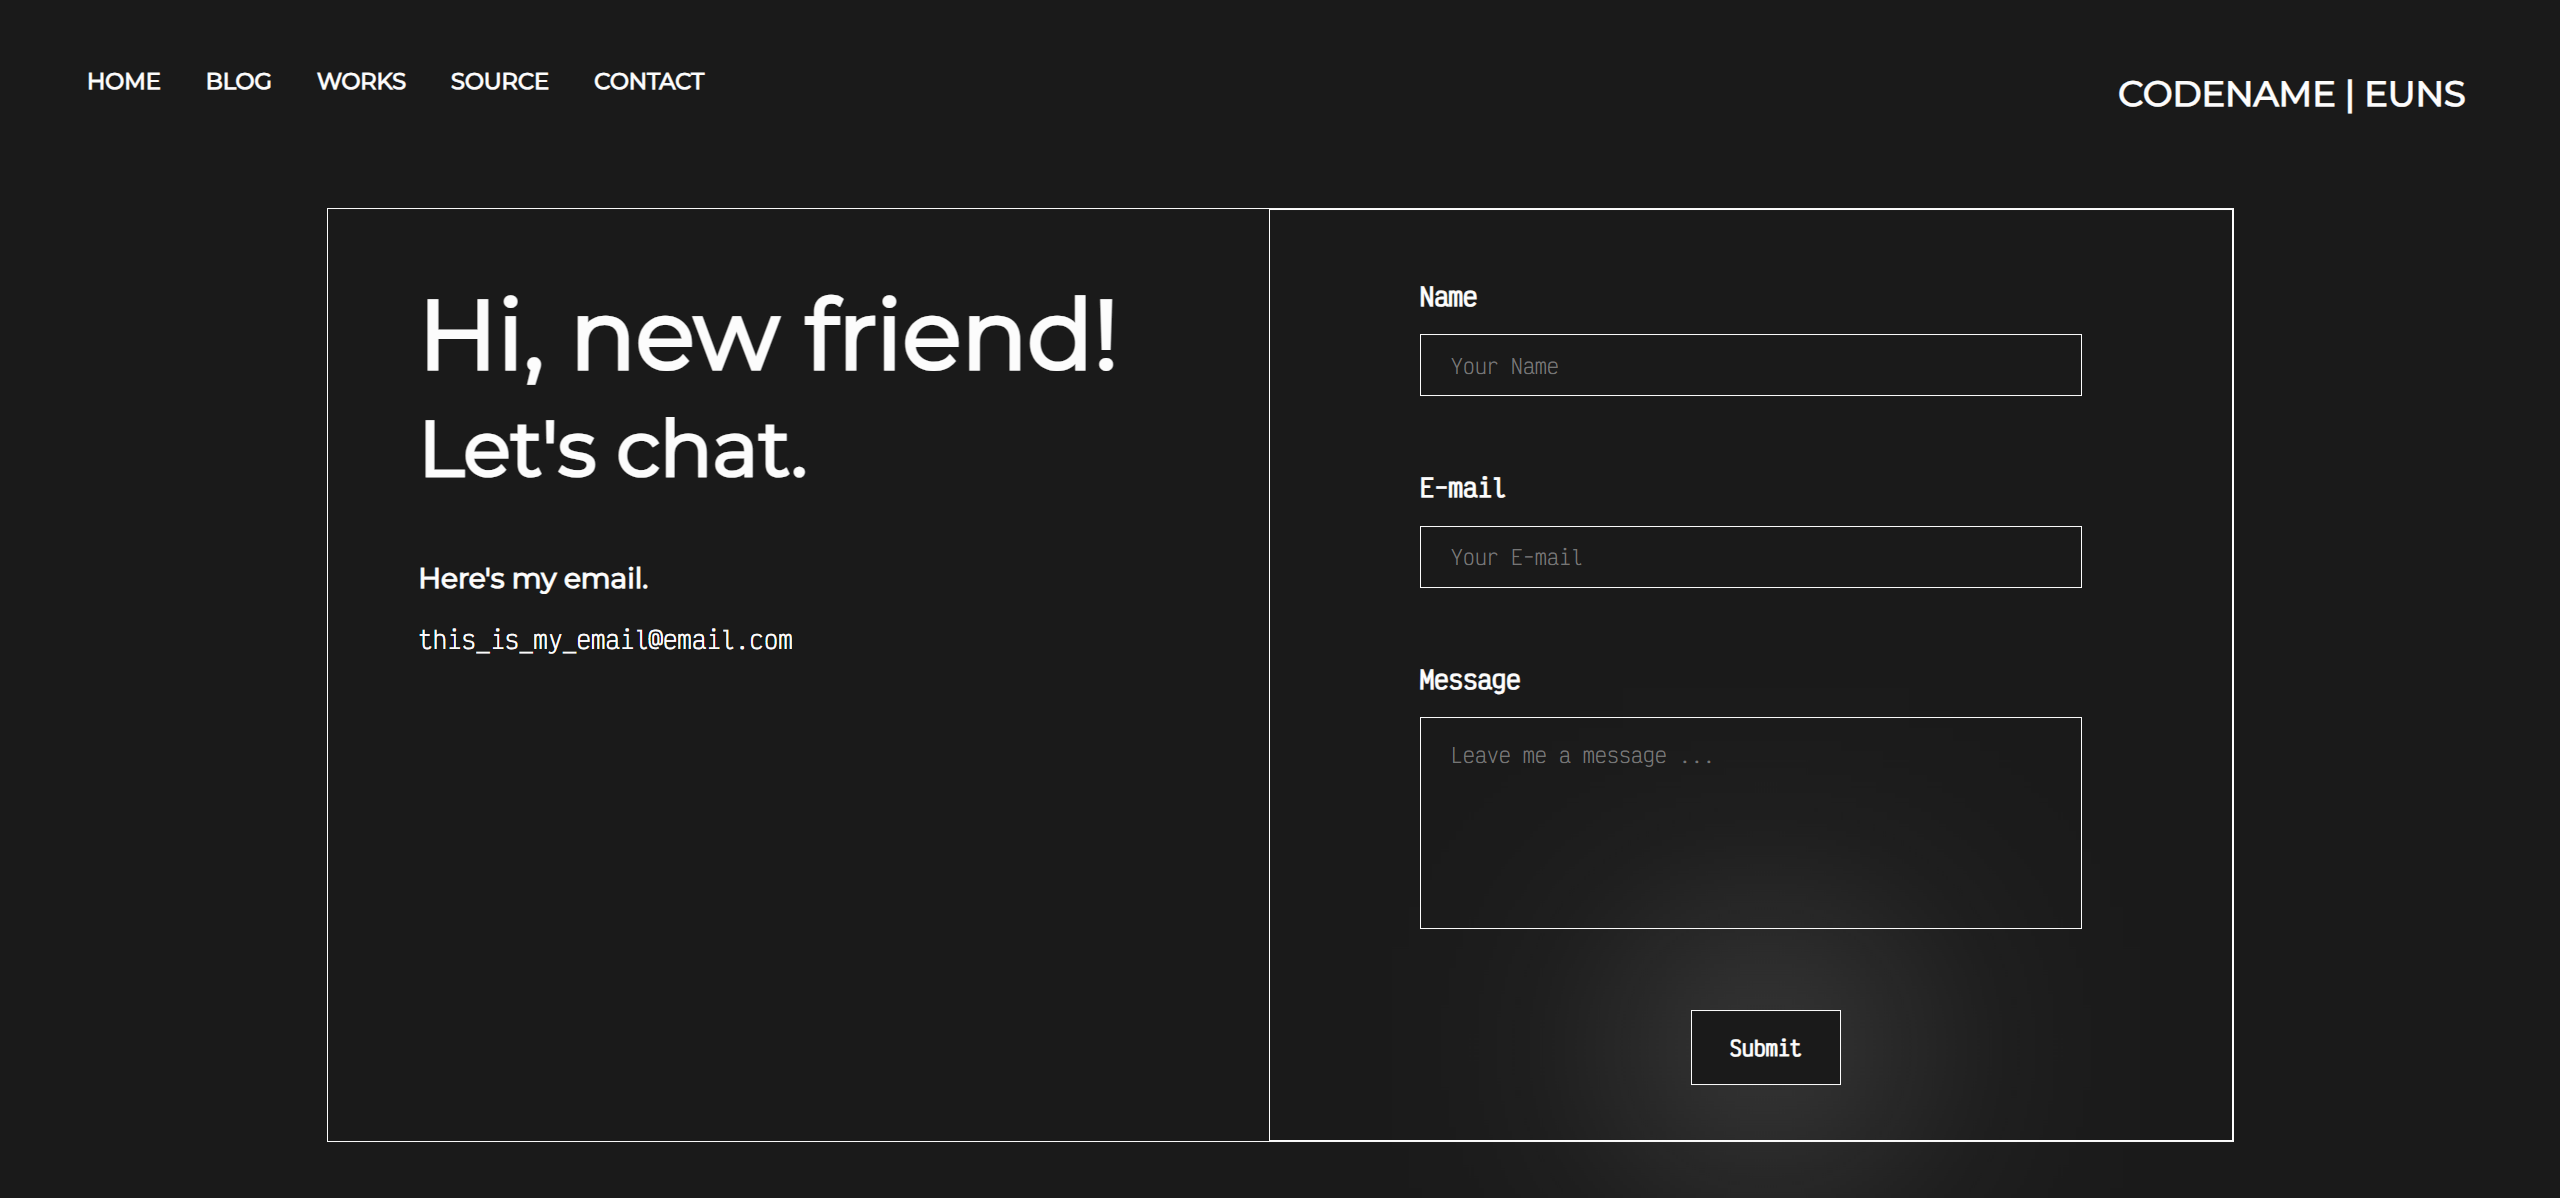
Create headings as part of caption.
<div class="caption">
	<h1>Hi, new friend!</h1>
	<h2>Let's chat.</h2>

	<h3>Here's my email.</h3>
	<p>your_email_here@email.com</p>
</div>
Style headings according to preference.
.caption h1 {
	font-size: 65px;
	margin-bottom: 5px;
}

.caption h2 {
	font-size: 52px;
	margin-top: 0px;
}

.caption p {
	font-family: 'Victor Mono', monospace;
	font-weight: 400;
}
Set left margin of all children elements via child selector ‘>’
NOTE. ‘*’ refers to all corresponding elements or in this case, “all child elements”
.caption > * {
	margin-left: 60px;
}
Create contact form
Contact form consists of three input boxes for 1) Name, 2) E-mail, and 3) Message to be sent to one’s email.
<form>
	<label>Name</label><br><input type="text" name="name"><br>
	<label>E-mail</label><br><input type="email" name="email"><br>
	<label>Message</label><br><input type="text" name="message"><br>
	<button>Submit</button>
</form>
Increase height of message input box
Using nth-child structural pseudo class selector, select message input box.
form input:nth-child(11) {
	height: 120px;
}
NOTE. The message input-box is the 11th child because the form is interpreted as such:
<form>
	<label>Name</label>
	<br>
	<input type="text" name="name">
	<br>
	<label>E-mail</label>
	<br>
	<input type="email" name="email">
	<br>
	<label>Message</label>
	<br>
	<input type="text" name="message">
	<br>
	<button>Submit</button>
</form>
with each line being considered a child.
For more information on nth-child selector, refer to https://www.w3schools.com/cssref/sel_nth-child.php.
Remake message input box into text area
Set id of <form> and refer to that form id inside <textarea>. Add alt/placeholder texts to all input boxes.
<form id="contact_form">
	<label>Name</label><br><input type="text" name="name" placeholder="Your Name"><br>
	<label>E-mail</label><br><input type="email" name="email" placeholder="Your E-mail"><br>
	<label>Message</label><br><textarea name="message" placeholder="Leave me a message ..." form="contact_form"></textarea><br>
	<button>Submit</button>
</form>
            ```

Adjust and style. Turn off resize for message input box.

```css
form input, textarea {
    margin-top: 15px;
    margin-bottom: 50px;
    width: 400px;
    height: 30px;
    padding: 5px 20px 5px 20px;
    border: 1px solid var(--white);
    background-color: rgb(0, 0, 0, 0);
    color: var(--white);
    font-family: 'Victor Mono', monospace;
}

form textarea {
	height: 120px;
    resize: none;
    padding-top: 15px;
}
OUTPUT
OTHER TODO
- Separate html files for redundant components - e.g. header, footer, etc.
- Position elements properly for safe layouts even after window resizing (esp. fix header/navigation menu position to avoid overflow of items when resizing)
SOURCE CODE
——————————————————————————
본 후기는 정보통신산업진흥원(NIPA)에서 주관하는 <AI 서비스 완성! AI+웹개발 취업캠프 - 프론트엔드&백엔드> 과정 학습/프로젝트/과제 기록으로 작성 되었습니다. #정보통신산업진흥원 #NIPA #AI교육 #프로젝트 #유데미 #IT개발캠프 #개발자부트캠프 #프론트엔드 #백엔드 #AI웹개발취업캠프 #취업캠프 #개발취업캠프